KaebelLand: The Journey Begins Soon
KaebelLand: The Journey Begins Soon Attention all passengers on Flight KL001, it’s almost time for boarding! Please ensure your window...
Read More
This guide is for playground equipment specifiers such as Landscape Architects and Playground specialists. If this doesn’t sound like you, feel free to call, and we will gladly assist you.
Hi there playground planners! Whether you’re a seasoned aficionado or new to the game, we aim to make planning a play space with rope equipment as easy as possible for all involved, so let’s take this step by step.
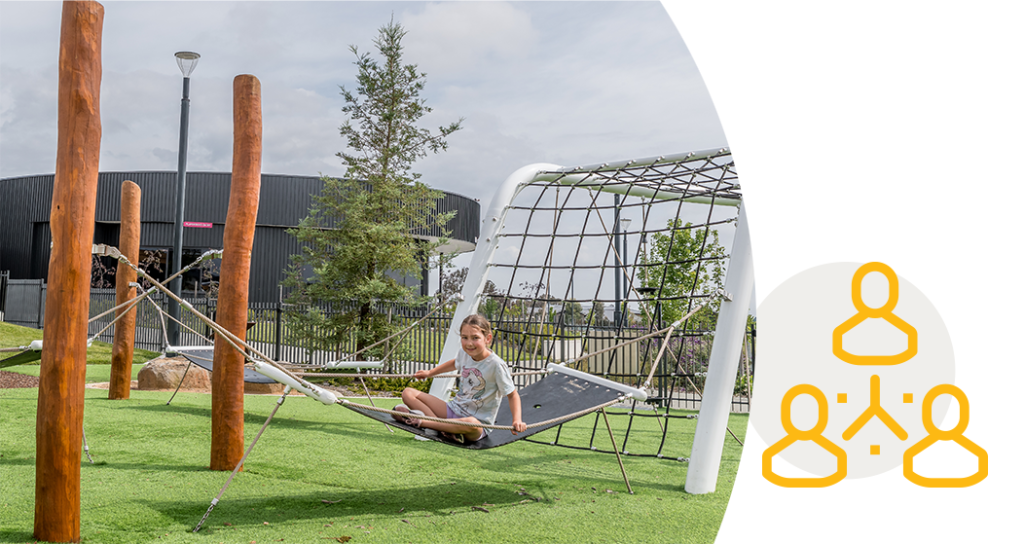
Before reaching out to us, take a moment to assess the needs of your users. Engage in consultations, leverage your expertise – we trust your judgement entirely at this stage. Your insights will be invaluable in ensuring we hit the ground running.

It’s helpful if you have a rough budget in mind before you come to us, so we can help guide decisions on the size of the project, the types of materials used, and the complexity of the designs
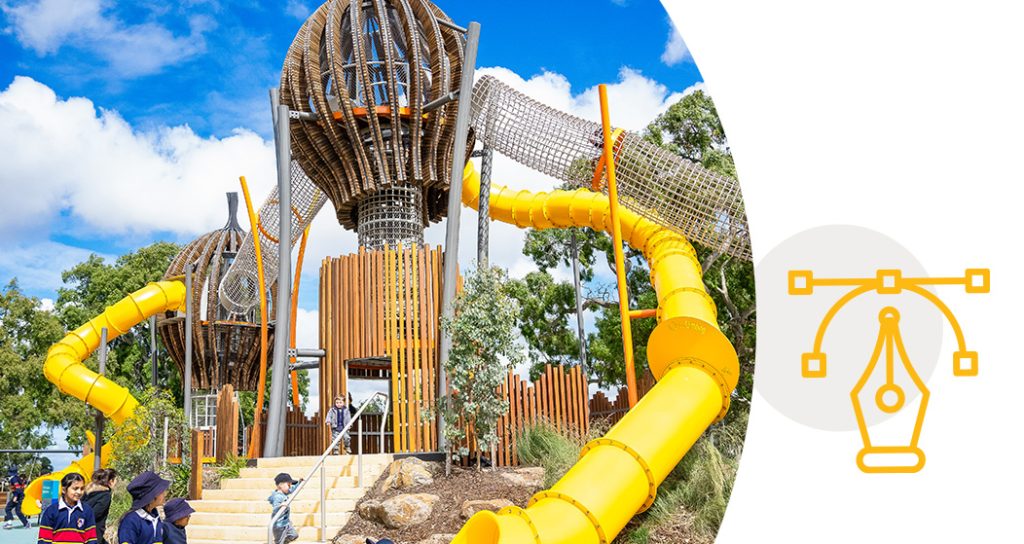
Contact us to determine the best products for your project. At this stage we will need to consider whether our standard range will fit or if custom solutions better fit your needs. Here’s a quick run down:
Standard:
Custom:
Make sure to include various elements that offer different levels of challenge and engagement.
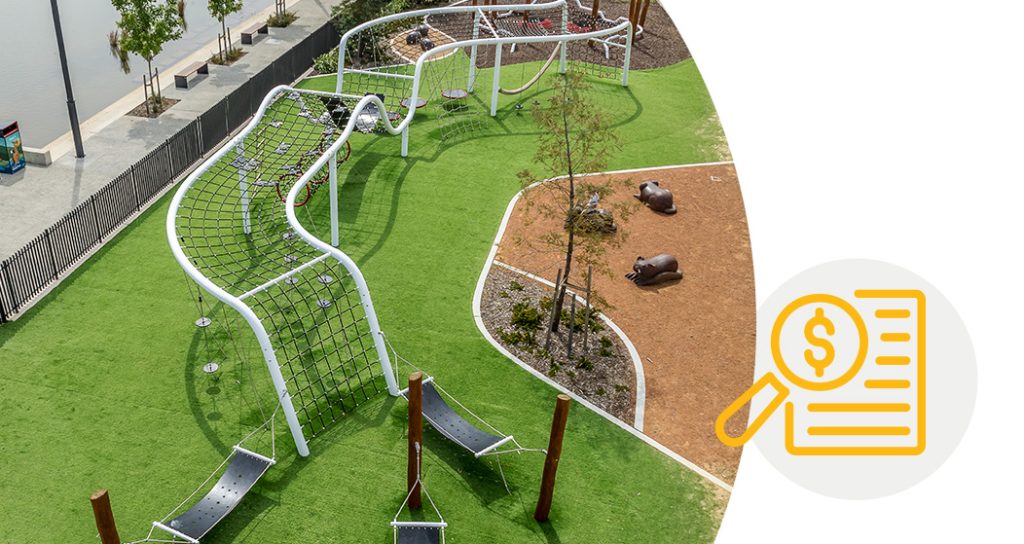
Once we’ve determined whether standard, partially customised, or fully customised products suit your needs, we’re ready to discuss pricing. For standard products, we can offer a quote upfront. However, for customised solutions, pricing may vary depending on complexity. In such cases, we might provide a budget estimate initially and then refine it based on further details we’ll request from you.
Engaging with us early, especially for bespoke designs, offers significant advantages. We can provide tailored advice on design considerations, potentially saving you both time and money in the long run.
For standard products, it’s smooth sailing from here – You can skip to stage 6.
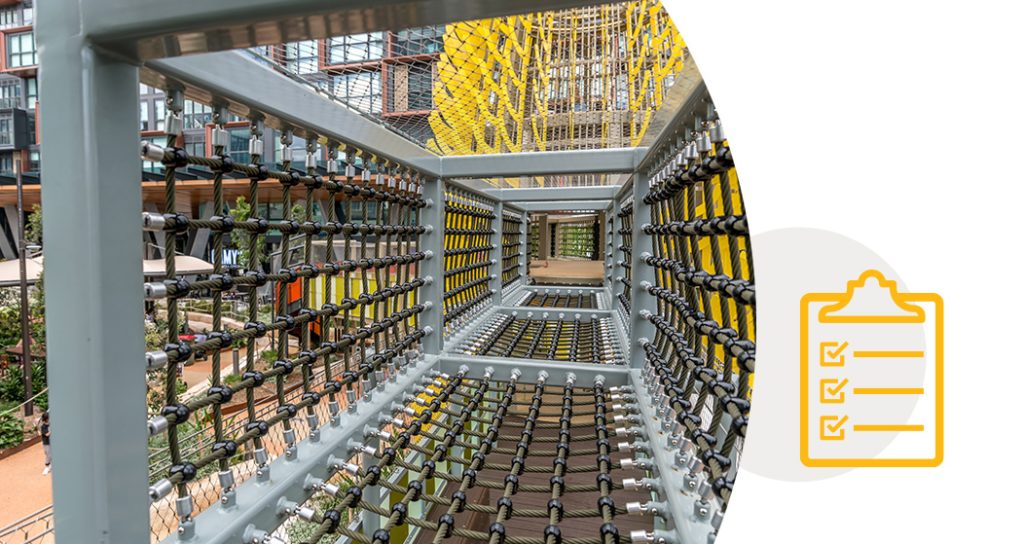
For custom or customised products, if you entrust us with your business, our design team will engage with you here. They’ll work closely with you to get your products through to production ready, guiding you through every decision with expertise in longevity, compliance, fitment, and engineering.
It is crucial to ensure your design aligns with the Australian Standards. We often recommend the products are third party certified, whether it is organised by yourself or us.
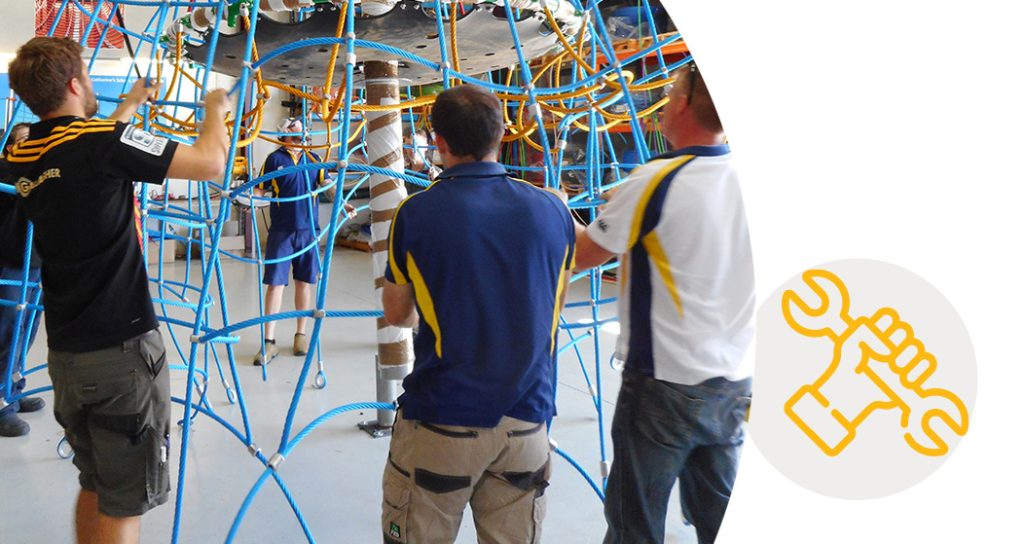
At Kaebel Leisure, our forte lies in design and manufacturing. Therefore, you will need to select contractors for installation, preferably those experienced with rope structures. We can make recommendations if you need help for this. If you’re a specifier not associated with a playground company, we advise collaborating with a reputable playground company for several reasons. They possess knowledge of our products, provide quality installation, and offer support throughout the process. Additionally, ordering through a playground company often translates to competitive pricing, making it a win-win situation for all involved.
We will need to know your colour selections before we can produce your equipment, so don’t forget to include your selections with your purchase order. If you’re unsure, our customer service team will gladly help you with this.
Once your order is finalised, we’ll ship directly to the installer. This approach minimizes the risk of additional freight fees that often arise when delivering direct to site.
But our commitment doesn’t end there. If any issues arise, please don’t hesitate to reach out. Our dedicated customer service team is here to provide support throughout the construction and commissioning stages, ensuring a smooth and successful process from start to finish.

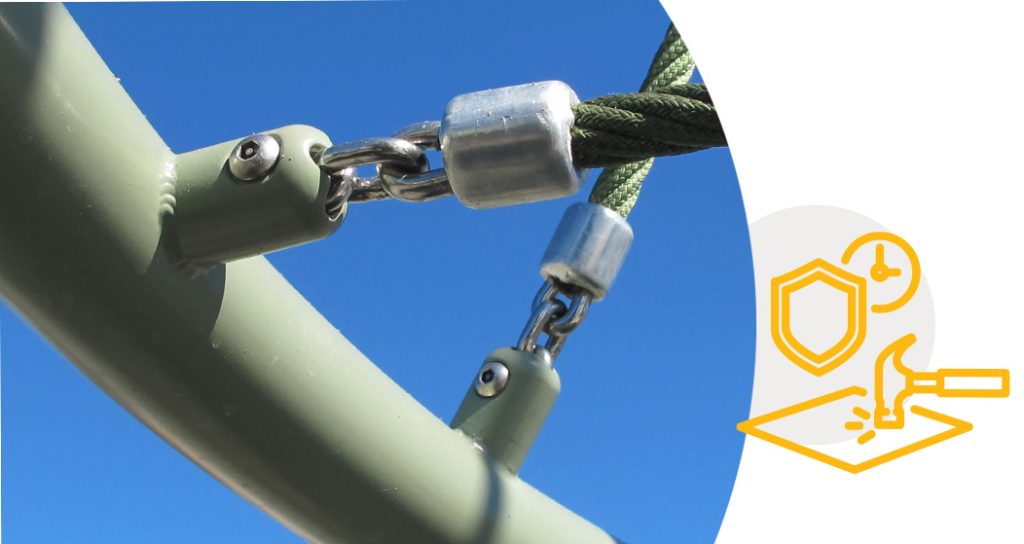
Upon completion we recommend you involve independent safety auditors who can certify the playground’s compliance with safety standards. All standard Kaebel Leisure products have been certified to comply with AS4685, however it is always good practice to have the playground checked to ensure everything remains compliant after installation, such as correct fall zones have been built.
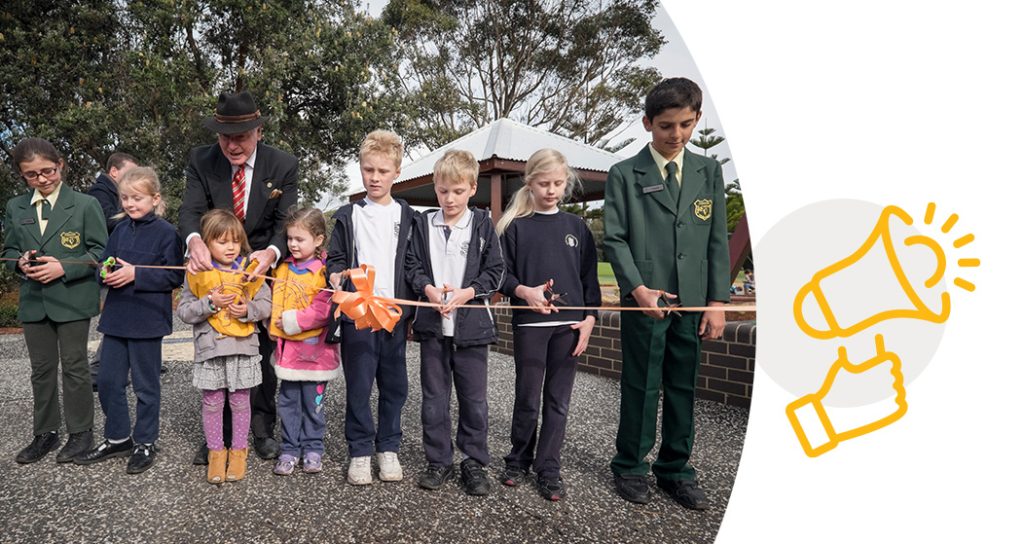
Plan a grand opening to introduce the playground to the community. This can involve local media, community leaders, and families. Effective marketing and community engagement can help in ensuring value is received in the community from your project.

Rope based products require very little maintenance, but to ensure the long-term safety and appeal of the playground, regular inspections, cleaning, and repairs are key.
In conclusion, planning a rope playground project requires a comprehensive approach, considering everything from user needs to safety compliance and maintenance. By following these steps and partnering with experienced professionals like Kaebel Leisure, you can create a safe, engaging, and lasting rope playground that will be cherished by the community for years to come.


